반응형
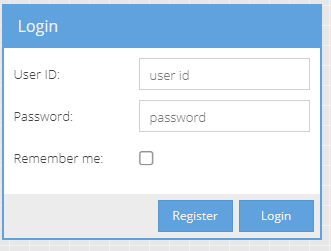
Here's an example of a login screen using ExtJS:
Ext.onReady(function(){
    // Create a form panel
    var loginForm = Ext.create('Ext.form.Panel', {
        title: 'Login Form',
        bodyPadding: 10,
        width: 300,
        renderTo: Ext.getBody(),
        items: [{
            xtype: 'textfield',
            fieldLabel: 'Username',
            name: 'username',
            allowBlank: false
        }, {
            xtype: 'textfield',
            fieldLabel: 'Password',
            name: 'password',
            inputType: 'password',
            allowBlank: false
        }],
        buttons: [{
            text: 'Login',
            formBind: true,
            handler: function() {
                var form = this.up('form').getForm();
                if (form.isValid()) {
                    form.submit({
                        url: 'login.php',
                        success: function(form, action) {
                            Ext.Msg.alert('Success', action.result.msg);
                        },
                        failure: function(form, action) {
                            Ext.Msg.alert('Failed', action.result.msg);
                        }
                    });
                }
            }
        }]
    });
});
This code creates a form panel with two text fields for username and password, and a login button. When the login button is clicked, the form is submitted to a PHP script on the server. The success and failure functions are called based on the response from the server. You will need to adjust the url property of the form.submit() method to match the location of your own login script.
반응형
'IT Develop > ExtJs' 카테고리의 다른 글
| Extjs Grid Sample (0) | 2023.04.24 |
|---|---|
| Extjs grid cell click event. (0) | 2023.04.19 |
| chat screen code on Extjs. (0) | 2023.04.18 |


댓글